Quick jump |
The Menu Builder lets you organize your tables and views into a multi-level cascading menu for quicker navigation. This feature is particularly useful when you have a large number of tables.
Once the project is created, the menu consists of links to the tables selected on the Datasource tables screen. Depending on the selected layout, the menu appears horizontally or vertically. The menu is single-level at this stage.
See Page layout and grid type to learn more.
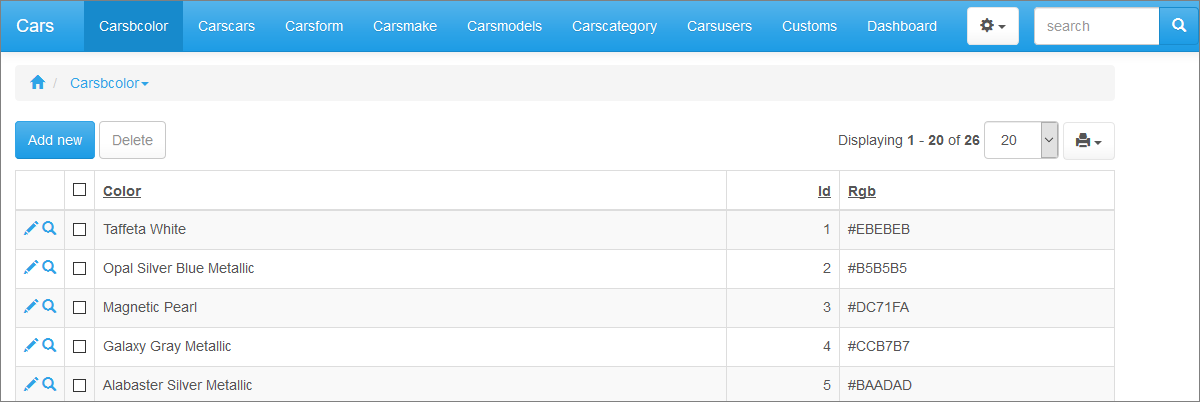
An example of a horizontal single-level menu:
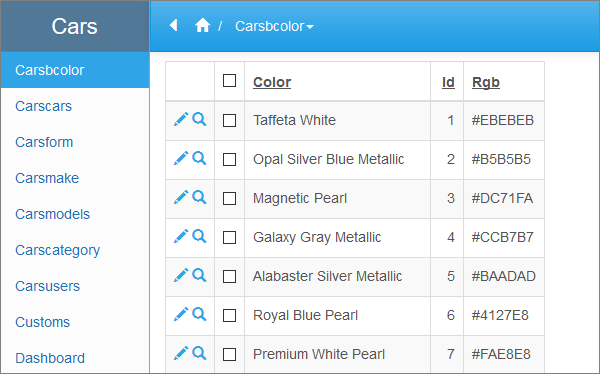
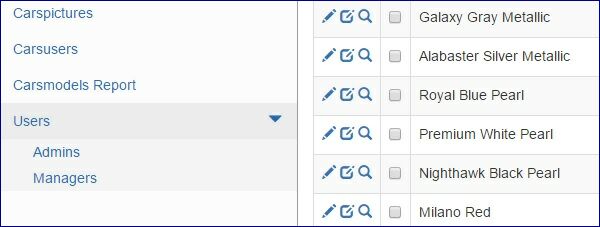
An example of a vertical single-level menu:
To open the Menu builder, go to the Editor screen and click the Menu builder button. Alternatively, you can go to the Datasource tables screen and click the Menu Editor button.
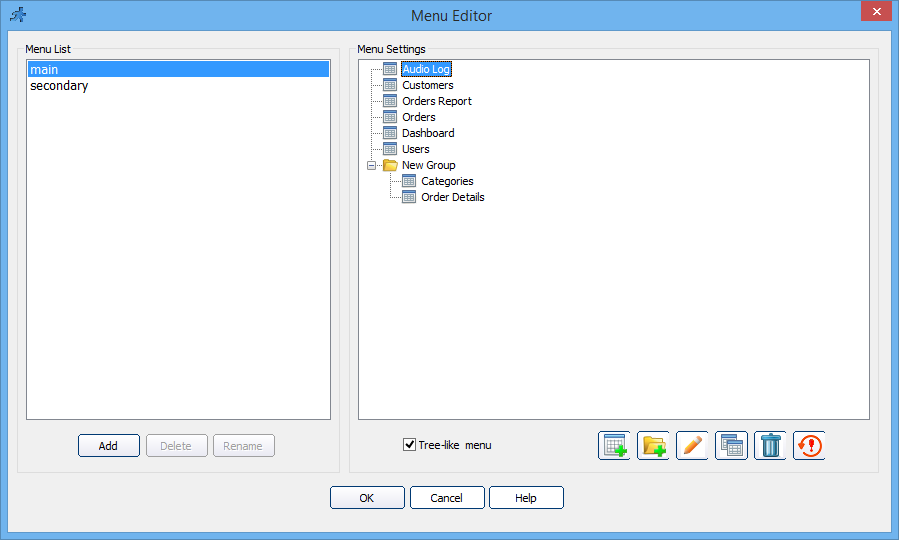
You can change the existing menu entries by double-clicking them, using the Edit item button, or right-clicking the entry and selecting Properties.
To add new groups and links, click the Add Link and Add Group buttons. Groups serve as folders for other groups and links.
Note: you can always change the type of any menu entry into a group or a link.
The Delete button deletes the currently selected menu item. The Reset button resets the menu to its default state.
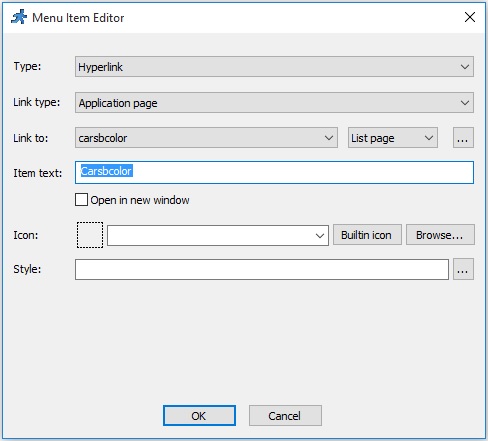
When adding or editing a link, you can configure the following link attributes:
1.Type. Select between a hyperlink or a group.
2.Link type. Select between an PHPRunner page or an external page.
3.Link to. If the Link type is set to external page, you can add a link to any web page. If the Link type is set to PHPRunner page, select the table within your project and then - one of the pages available for the selected table.
Usually, you can choose between:
•List page - displays the data from the table;
•Add page - allows to add new records to the table;
•Search page - provides an advanced search for the data in the table;
•Print page - prepares a printer-friendly page with the data from the table.
See Choose pages screen to learn more about the pages you can create/enable.
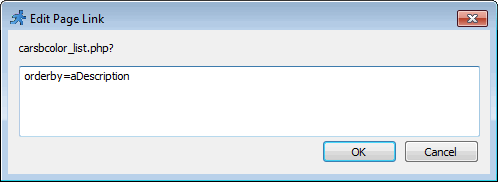
Click the '...' button next to the page type dropdown to set the link parameters.
If you, for example, want to display the page ordered by the Sales figures, type in the orderby=dSales parameter.
When working with complex parameters, the best way to proceed is to copy the parameter string from the application URL and paste it into the link parameter dialog.
Here is an example of a link parameter: orderby=aDescription. The resulting link looks like this: carsbcolor_list.php?orderby=aDescription.
Note: the user group permissions are only applied to the internal links (PHPRunner pages).
4.Link text. The Link text is displayed as the menu item title. If you turned on multilanguage support in your project, a Multilanguage button appears that allows translating the link text into several languages. See Miscellaneous settings to learn more about multilanguage support.
5.Icon. Select an image to be displayed next to the menu item title.
6.Style. Set the menu item text style by adding custom CSS properties. Use a semicolon to separate different properties.
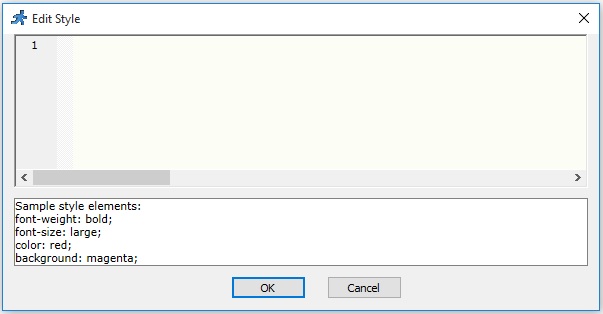
Here are several examples of how you can modify menu item text style:
•font-size:12px; color:red
•font-size:200%; font-weight:bold
•font: 12px italic; border: solid
•color:rgb(255,0,0); background-color:black
•border: dotted red 2px
The Open in new window option allows opening the links in a new browser window.
To create a cascading menu, create new groups, then drag-n-drop existing menu entries into the groups, or create new entries there.

For the vertical menu layout, the Tree-like menu checkbox allows displaying the expanding/collapsing cascade menu.
See also:
•Miscellaneous settings: Language settings