Quick jump |
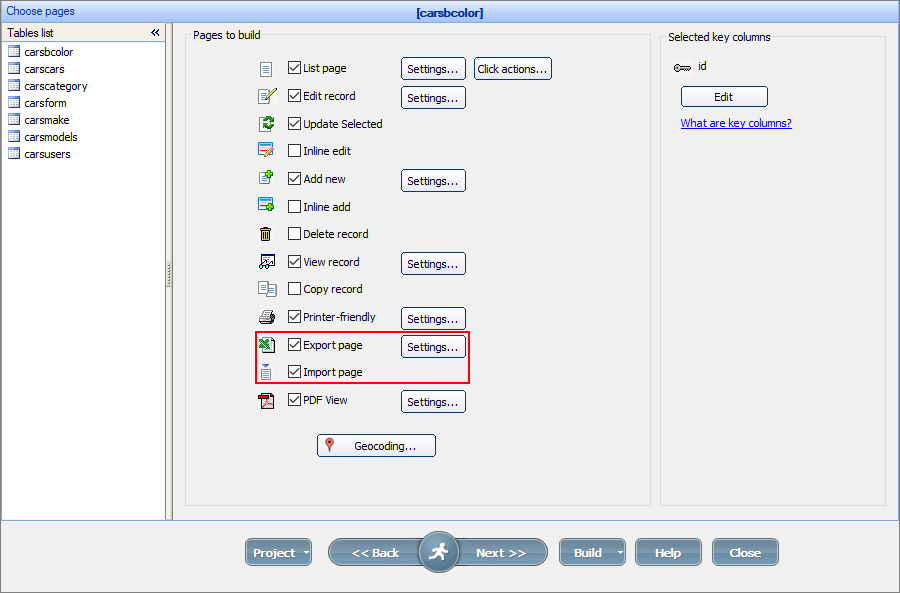
To access the Export page settings, proceed to the Choose pages screen and click the Settings button next to the Export page checkbox. To enable the Import page, click the Import page checkbox on the same screen.
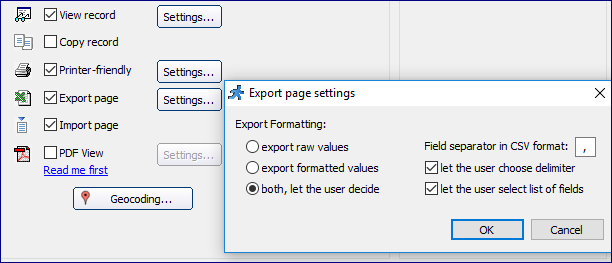
These are the Export page settings:
The Export page is opened in a popup by default. This is how it looks like in the generated application:
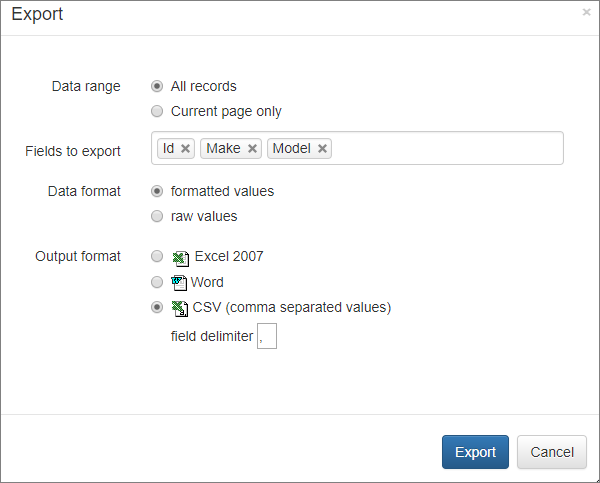
The supported file formats are:
•Excel 2007 (.xlsx);
•Word (.doc);
•CSV (comma separated values).
The field labels are used as the headers for the Excel/Word files. The field names are used as the headers for the CSV files so that the exported file can be imported into other software.
Supported file formats are:
•CSV;
•Excel 2007 (.xlsx);
•Excel 97-2003 (.xls).
The field names or labels can be used as the headers for the Excel files. For the CSV files, the field names should be used as the headers.
ASPRunnerPro adds new records or updates the existing ones when importing. During an import, ASPRunnerPro tries to insert new records first. If the insert fails for any reason (for example, when there is a duplicate primary key), it then tries to locate and update the existing records.
ASPRunnerPro updates the existing records instead of adding new ones when:
1.A key column is defined for the table in question.
2.Key columns selected on the Choose pages screen match the primary key in the database.
3.The key column/columns exist in the imported file.
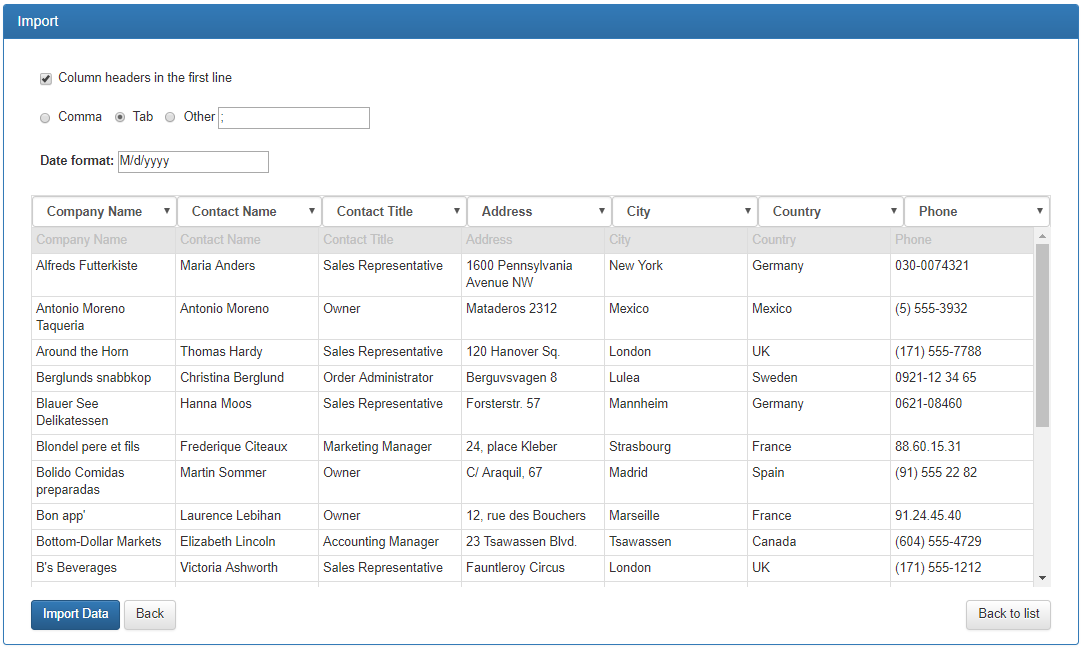
When importing the data, set the Date format mask, so that ASPRunnerPro recognizes the date correctly. Here are a few examples of supported date formats:
•dd.mm.yyyy
•mm/dd/yyyy
•yyyy-mm-dd
•dd/mm/yyyy
If you wish to combine the import with any extra actions, use the BeforeInsert event. For example, you may want to specify the file creation date or fill in the OwnerID field.
Note: ASPRunnerPro creates temporary files to preview the import results in the templates_c folder under the output directory. You need to set the writing permissions for this folder in the web server.
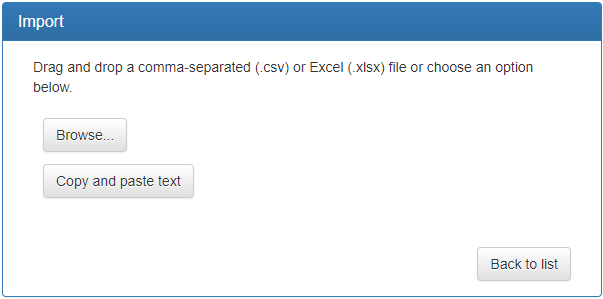
You can copy and paste import data instead of uploading the whole file.
Copy a few lines of data, then paste it into the import page after clicking the Copy and paste text button.
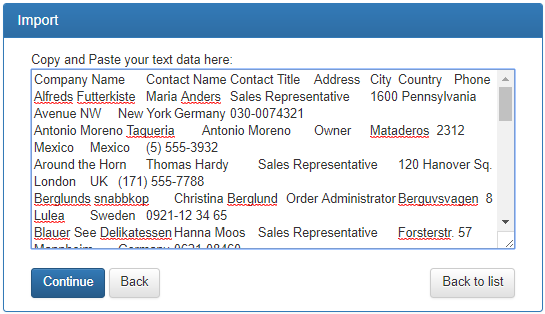
Note: you do not need to include the column headers.
See also:
•List page settings / Click actions
•Printer-friendly/PDF view settings