Quick jump |
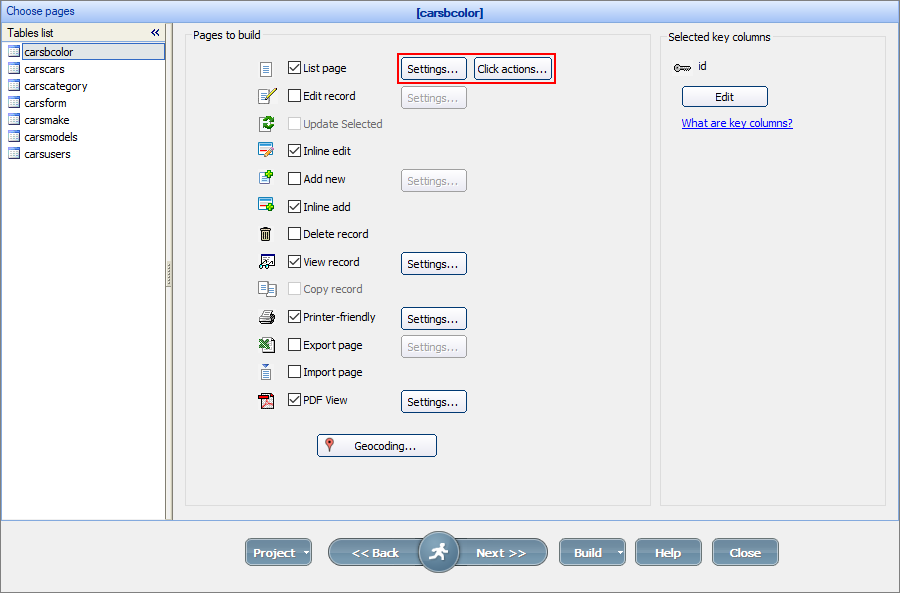
To access the List page settings and Click actions, proceed to the Choose pages screen and click the corresponding buttons next to the List page checkbox.
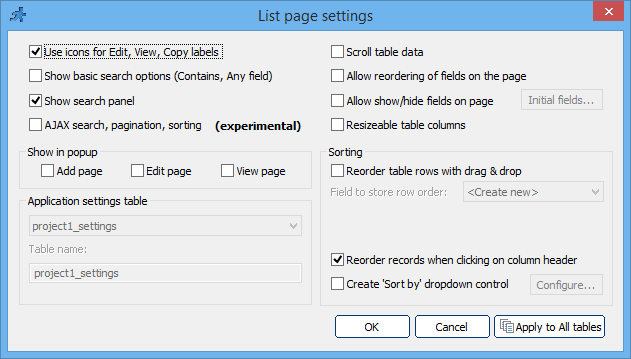
You can select the table to store the application settings like the order of columns, show/hide states, column sizes, and saved searches. These settings are user-specific.
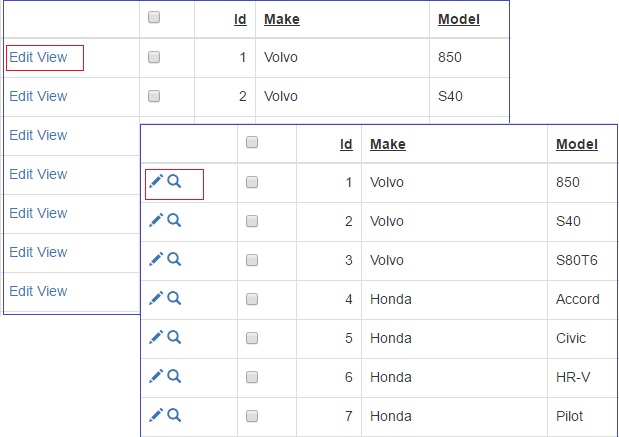
•Use icons for Edit, View, Copy labels - this option displays the icons for the Edit, View, Copy actions instead of the text labels.
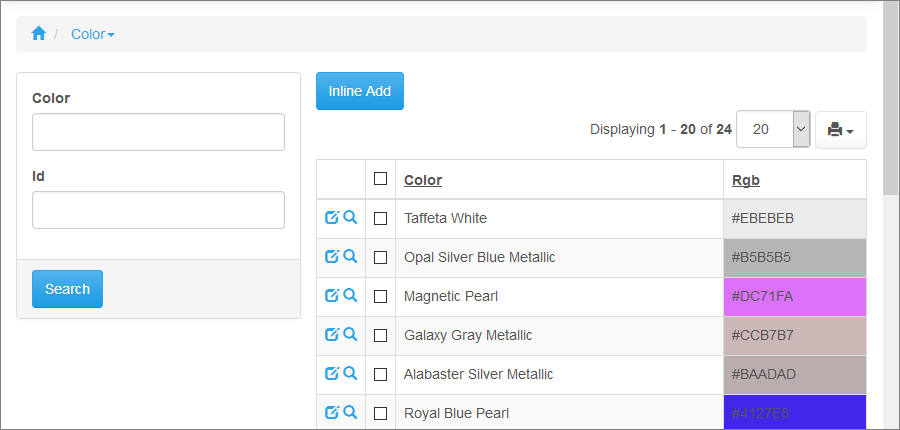
•Show basic search options - this option displays the basic search options (Any field, Contains), instead of a single Search field.
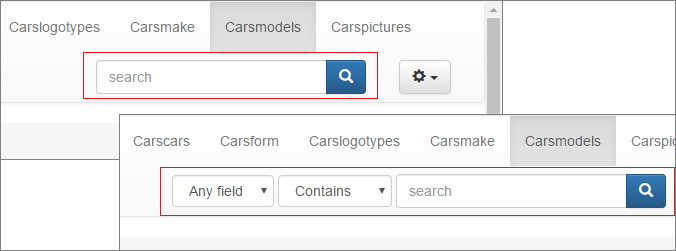
•Show search panel - this option displays the search panel. The search panel allows you to search for specific values on the List page.
•AJAX search, pagination and sorting - this option enables the AJAX search, pagination and sorting so that the data is updated without needing to reload the entire page.
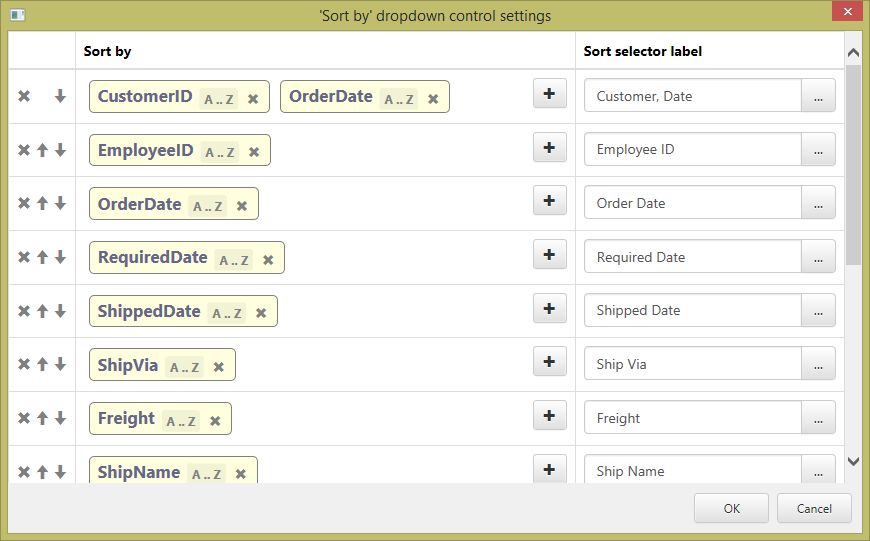
•'Sort by' dropdown control. This option is useful when:
oThe List page is in a vertical/columns mode, and previously it didn't have any sorting options;
oYou need a 'Sort by' control in the mobile mode;
oYou need to set up the application-specific sorting modes.
You can also choose whether users can sort the data by clicking on the column headers.
•Reorder table records with drag-n-drop - allows change records position by dragging it up or down. This option requires and additional field in the database table that will store records position.
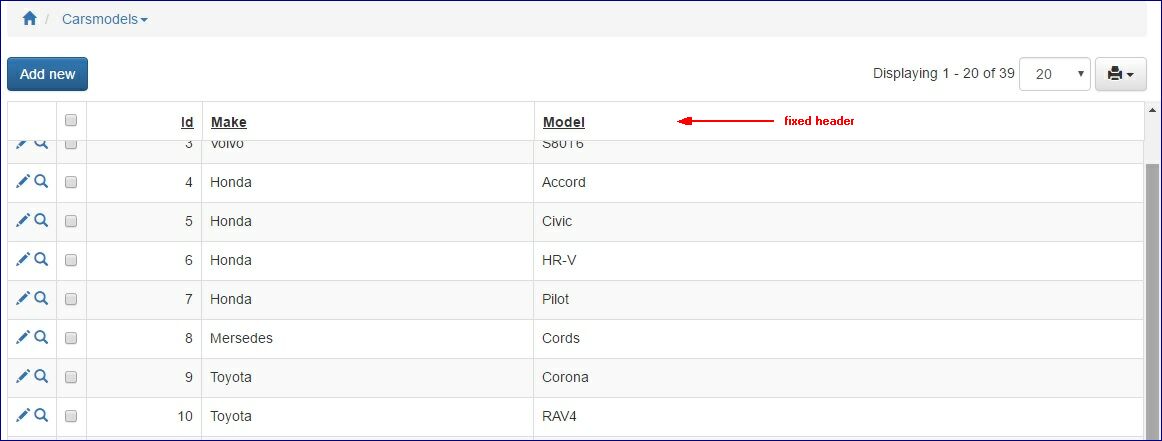
•Scroll table data - this option displays the data records as a scrollable table with a fixed table header.
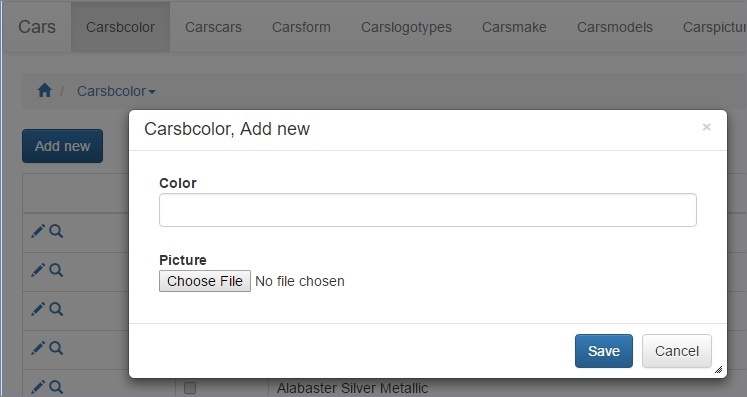
•Show in popup - this option allows showing the Add/Edit/View pages in a popup window.
•Allow reordering of fields on the page.
Drag-n-drop the columns on the List page to reorder them. These settings are saved in the database and preserved between the sessions for each user.
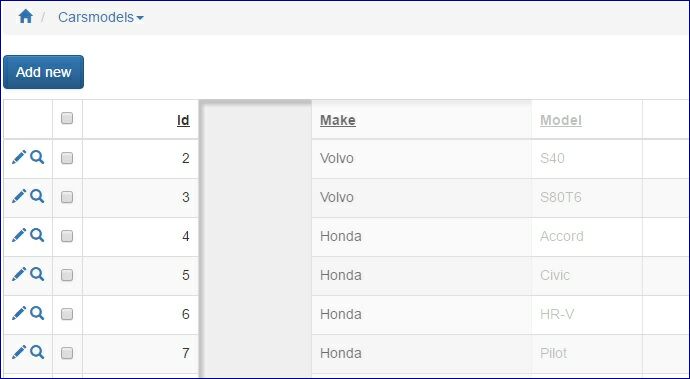
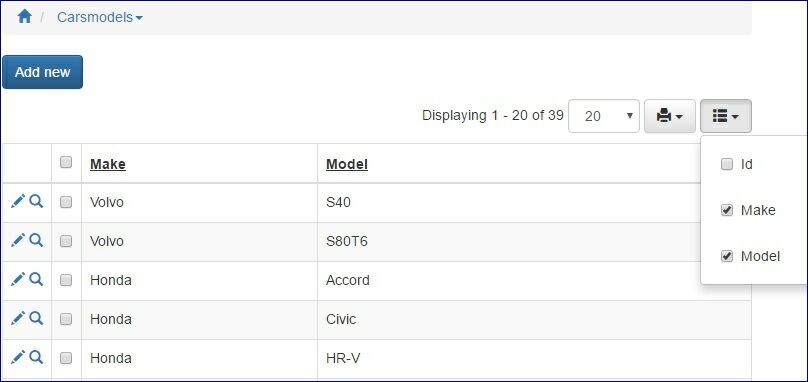
•Allow show/hide fields on page.
Choose the columns to show on each page in the generated app. These settings are also saved in the database and preserved between the sessions for each user.
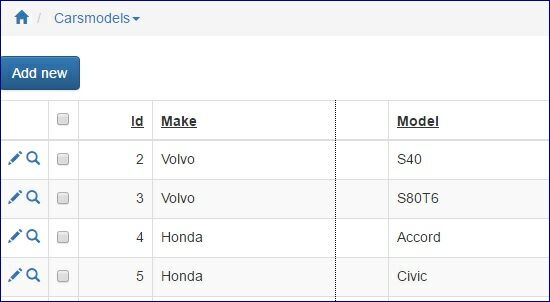
•Resizeable table columns - this option allows resizing the table columns.
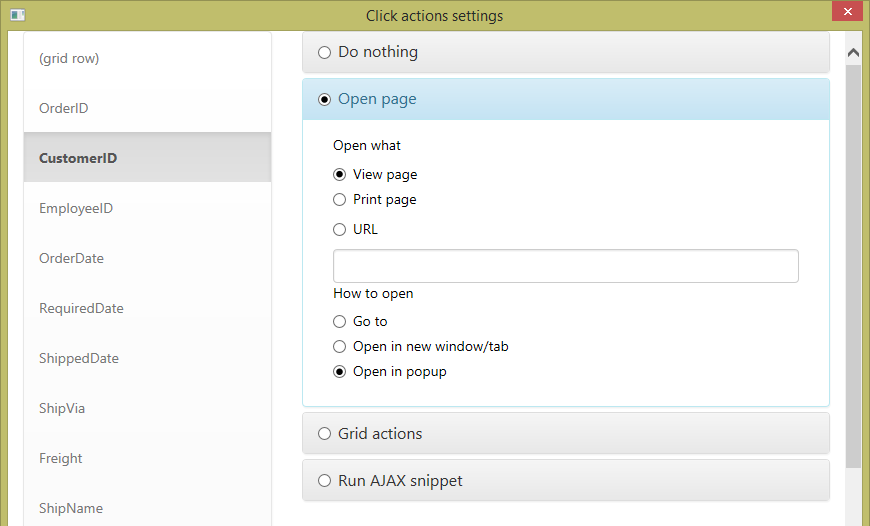
With the List page Click actions, you can assign the actions like open a specific page, make the record selected, expand/collapse the details, or execute a custom code upon clicking the row/cell.
Note: Click actions utilize the Tri-part event system, that consists of three parts: Client Before, Server, Client After.
The Client Before part runs JavaScript code in the browser, then passes parameters to the Server part that runs ASP code, and then back to the browser to run the JavaScript code of the Client After part.
Check this live demo to try it in the app:
•Click the CustomerID cell to open the Orders view page in a popup.
•Click the OrderID field to retrieve the current order total and display it in the OrderID field.
The code used in the second example:
Client Before:
// pass OrderID to Server event
params["OrderID"] = row.getFieldValue("OrderID");
Server:
// run SQL Query to retrieve order total
result("total") = DBLookup("select sum(Quantity*UnitPrice) from `Order Details` where OrderID=" & params("OrderID"));
Client After:
// change cell background
row.fieldCell("OrderID").css('background', 'yellow' );
// add order total to OrderID cell content
row.fieldCell("OrderID").html(
row.fieldCell("OrderID").html()+"<br>Total: "+result["total"]);
See also: